Wooden box girders are usually easier to style than solid core beams. The wood you’re shaping is dry and has a stable quality at low tide, so you can achieve a more consistent cut. This means there will be fewer soft marks, no rotting chips, wet pieces, etc. Shaping wood can be a time-consuming process. Various looks can be achieved including trimming, restoring, smoothing, sharp corners, and more. Styling is always done after assembling the beams, but before wire brushing of the joints, if required.
Here is the breakdown of the strategy:
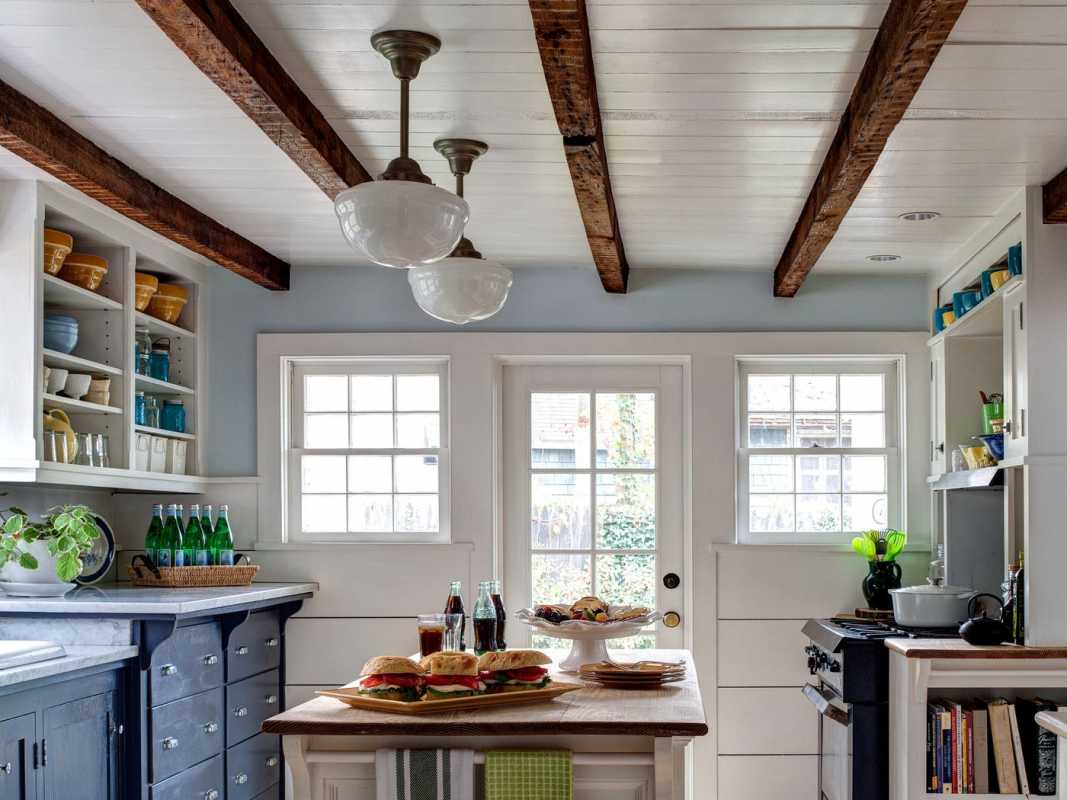
Restored decorative ceiling box beams
To make these from the unrestored wood box, you should have some skill in styling the wood before going inside. The first step is to assemble the beams. Choose a good straight board so that the router joints are aligned. This can be extremely difficult and will require at least a dozen clamps to maintain a simple routing line, often more.
Make sure your board is completely even and straight, at the root of the joint and then when glued. Gather the wood on the ground, because it will go together. Assemble the clamps around the three planks, so that the glue joint can be locked into place as soon as the wood glue has dried. Decorative ceiling beams are needed in perfect joints to achieve their consistent look, so this step is very important. This is best done with two people, but with a pinch, you can do it yourself.
If the joint is glued, assembled, and clamped, it must be set. Fortunately, the glue in the hot dry Arizona desert can fully cure in 1-2 hours. In many places, you have to wait overnight for the best results. According to the glue, it is possible to change due to observation and knowledge. Once the beam is dry and still stuck, invert it and place blocks to strengthen the shape and protect the flame. Cut the blocks to fit the interior and then glue them on. Each 36″ beam is strong enough to bend against torsion and inspection. The wood needs to be cut at this point, to give it a controlled curved shape. One piece. Curve fits any style we want and we want to achieve the look accuracy we want.
In order to have a restored wood box beam style, you need to get the deepest yards without going, which is a matter of practice and skill. Start with an ax. Build your rough yard every six to twenty inches. Grab a file and manually adjust the scraps needed for an aesthetic look. Again, don’t overdo it. You’re removing the weird, partially loose chip. We need to be careful with the ax, so for now you can dig a few feet deep with your hands to get a pretty realistic effect. The wood you are working with is 1-inch material, and
Then, scrape lightly to hurt the wood. Don’t overdo it, start with less and work more. Use the sharp end of the ax and shave 4 inches to 20 inches long. Dig them deeper, as if you were imitating an ax that was once carved in a tree by hand. Then you take that effect and make it 80 years old. Some debris may turn into cracks. Use the file to expand the channel in some areas and deepen it in others. This gives it a more realistic look.
At this point, the beam is ready for wire brushing. Wire brushing is great for joints, it can smooth out small differences and create a seamless look. Adding to it will have the opposite effect, so it takes practice to get it right. Gently brush the pad to reduce the appearance of new wrinkles. It makes them look like old signs of the times, but don’t overdo it, or you’ll ruin the look. In the style of wood box ceiling beams, more or less also. Conduct wire brushing at all of your joints. This is the basic strategy. All you have to do now is install and finish the beams, but both could be a story for another day. Thanks for reading!